6L “LQ9” Engine Installation
Before reading about my engine installation, you might want to check out my LQ9 engine overview.
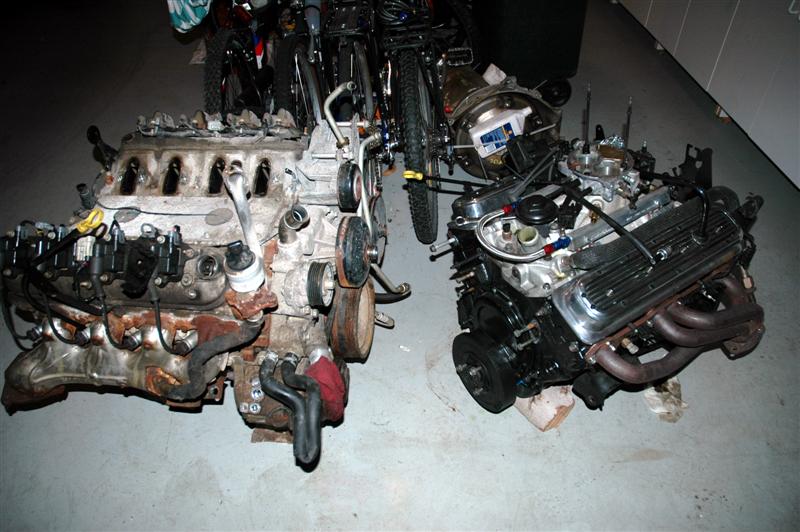
The engine rebuild and installation project started in December 2004, when I decided to explore the possibility of installing a GM Gen III engine in an 88-98 pickup. After a few weeks of research, I purchased a motor from a junkyard in upstate New York. Pulled from a wrecked 2002 3/4 ton Silverado, this engine had only 27,000 miles on the clock, but was a rusty mess with all the road salt used in the icy northern climate. Here are some shots of the engine after hauling it home to Maryland:
.JPG)
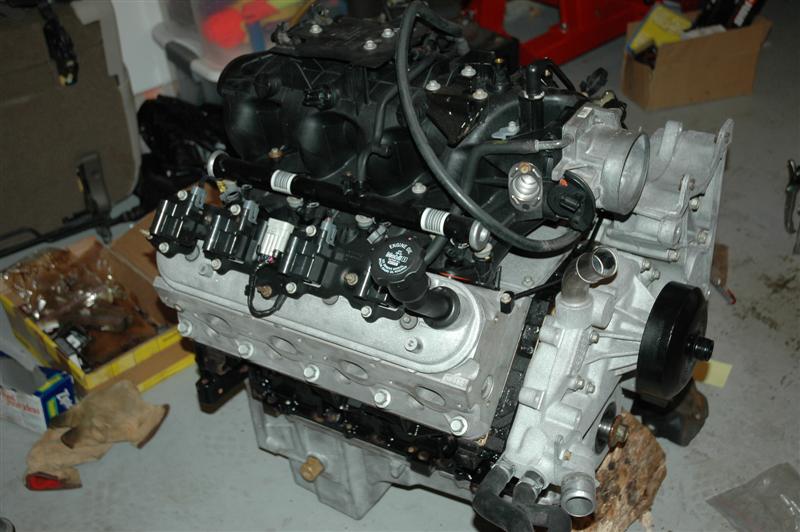
About 5 seconds after seeing the engine, I decided that it needed to be torn down completely and rebuilt. I disassembled the engine to the bare block and went to work cleaning. Many of the external parts spent some time in the sandblasting cabinet at Bucknell University, where I go to school. All internal parts that were to be re-used were cleaned with solvent and then re-oiled. The cylinder heads were sent off to a local engine builder who bead blasted them and recut the valves and seats. I had purchased a slightly used (4000 mile) rotating assembly from a friend to install in the block. The engine builder balanced and installed this assembly into the block after performing a light cylinder hone to restore the crosshatch pattern on the cylinder walls. New rings, bearings, and bolts were used on the shortblock. After getting the shortblock back, I installed the camshaft, cylinder heads, valvetrain parts, and all other external parts. The engine looked brand new and was ready for several hundred thousand more miles to be put on it:
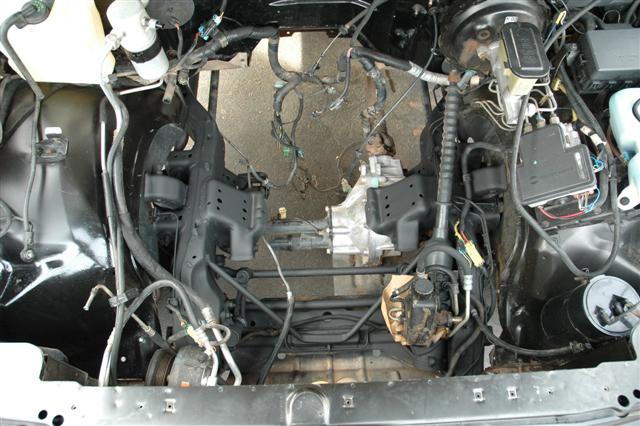
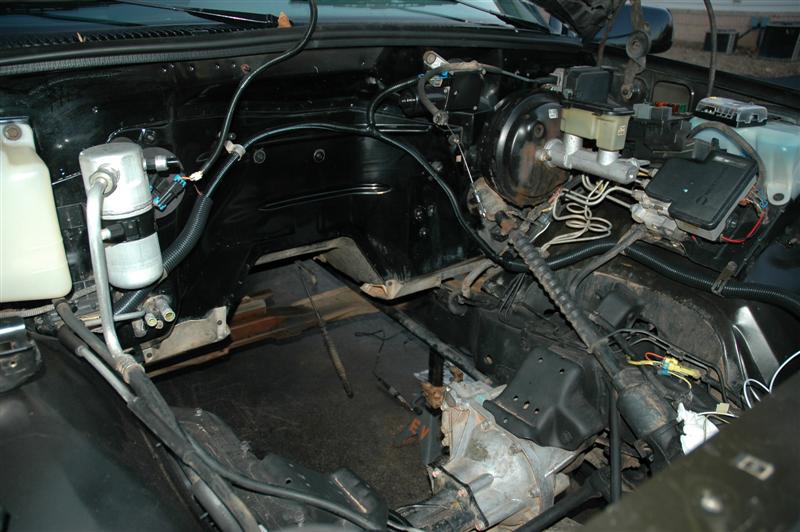
The next phase was to prepare the truck for the engine installation. After removing virtually all powertrain and underbody parts from the truck, I steam cleaned the engine compartment and pressure washed the undercarriage. I then went to work with a toothbrush and some degreaser on the engine compartment, and removed every bit of dirt I could find (in the middle of the winter). To complete the “restoration,” I painted the frame and some other places in the engine compartment, and applied undercoating to the frame under the cab and bed:
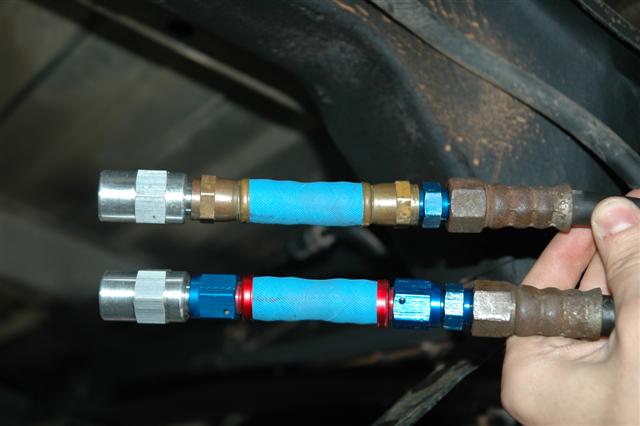
Next, the fuel system had to be changed to accommodate the new engine. A fuel pump module from a 1998 pickup was needed since it included a high pressure fuel pump and a fuel tank pressure sensor. This required a new fuel tank which I obtained from a local “auto recycling center.” New wiring for the pump and pressure sensor was added, and plumbing modifications were necessary to connect the pump module to the steel lines on the frame, and then to the fittings on the engine. I used Pure Choice Motorsports products to adapt the quick-disconnect fittings on the pump module and engine to AN style flare fittings. I also used Aeroquip socketless hose to connect pump to hardline, and hardline to engine.
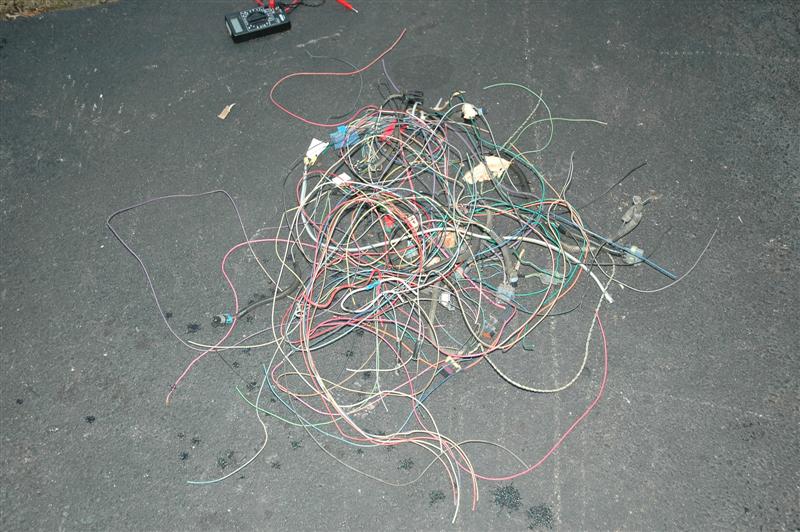
The most time consuming part of this project was the electrical wiring. The first phase was to remove the TBI fuel injection system completely. I ripped out the old PCM, and all wiring and associated connectors, leaving only body wiring for systems like air conditioning and windshield wipers.
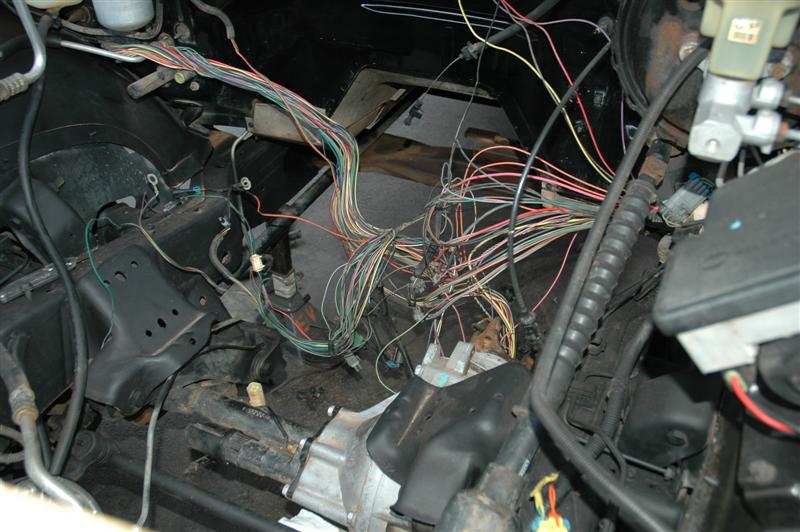
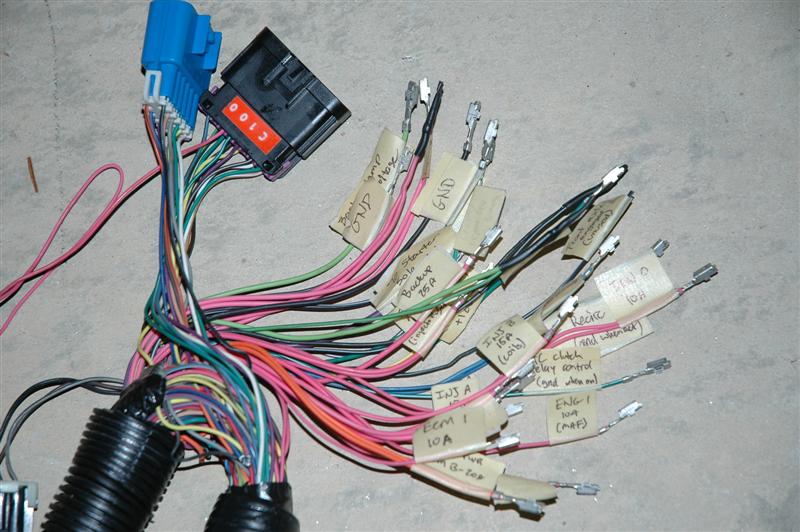
Next, I organized and labeled the body wires I would need to connect to the new engine management system, such as the instrument cluster connections, HVAC connections, and 4WD system connections.
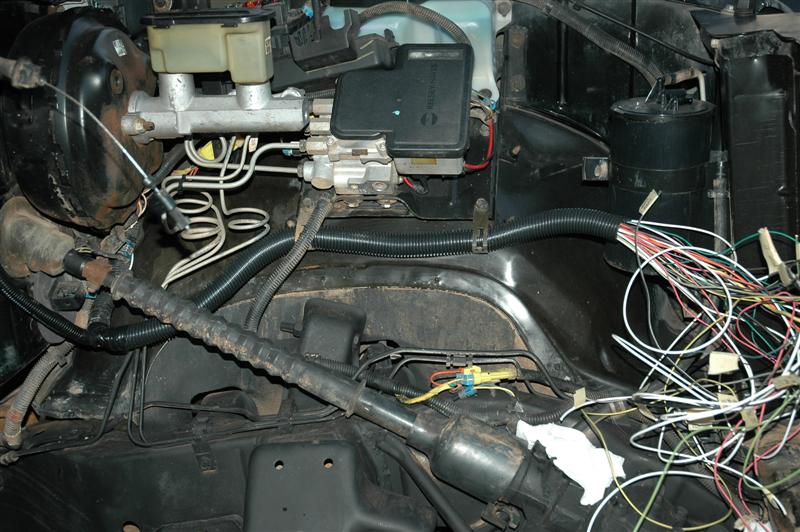
With all the wires located in the correct place, I wrapped them in electrical tape and covered the harnesses in split loom.
Finally, I attached waterproof connectors to the wire ends so the engine harness and chassis/body harnesses could be easily separated. All of the exterior connections inside harnesses were made with solder and heat shrink tubing, or sealed crimp connectors.
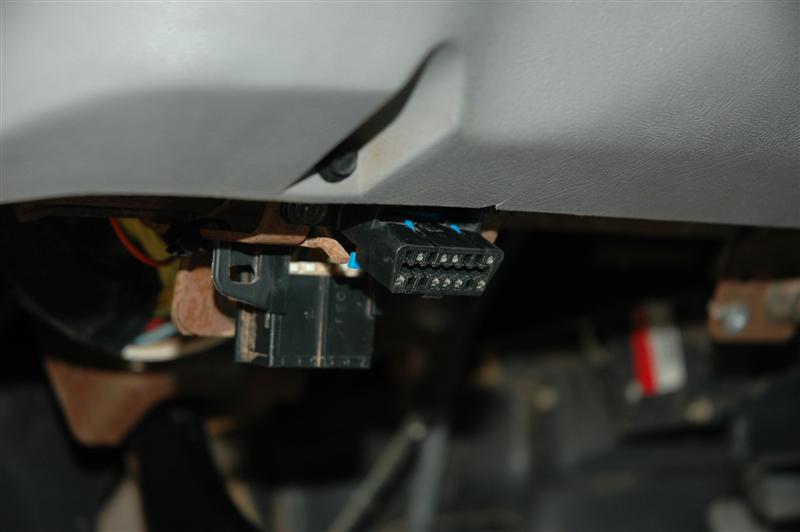
On the inside, I installed an OBD-II diagnostic connector under dash (while retaining the existing OBD-1 ALDL). I also made several changes to eliminate an under dash module used for the vehicle speed sensor (the VSSB aka DRAC).